It’s Hard to do Too Much T-Spine Mobility Work
I’ve talked a lot about the importance of the t-spine mobility in shoulder movement. For an obvious reason… It’s super important! In fact it may be one of the most significant contributors to shoulder health and is often overlooked. If you have shoulder pain and visit a doctor there is a good chance they never even consider this as a reason for your pain!
But it’s cool. We got your back (literally).
Once you have done the thoracic spine assessment it’s time to move on to correcting it. Keep in mind that even if you passed your assessment these drills are still super valuable! T-spine mobility is often needed and it hard to do too much.
In short you will perform some tissue release/mobilization, a mobility drill (like a stretch) followed by an activation drill or an integrated drill, or sometimes both. For more on this process check out the post I wrote about building mobility workouts.
Do this mini circuit 3 times and remeasure your T-spine assessment.
Step 1- Release The Abdominal Wall (For T-Spine Mobility)
Believe it or not the abdominal wall plays a large role in how well the thoracic spine can move. Specifically the obliques. The internal and external oblique attach the pelvis to the rib cage. Though they don’t directly contact the spine because the attachment to the ribs they can profoundly alter the T-spine’s ability to move. Furthermore since they connect to the pelvis any issues that affect the pelvis and hips can also influence how these muscles function. This connection is one way that can tie the hips to shoulder function. The connection looks like this:
Hip → Pelvis → Obliques → Ribs/Thorax → Shoulder Blade → Shoulder Joint
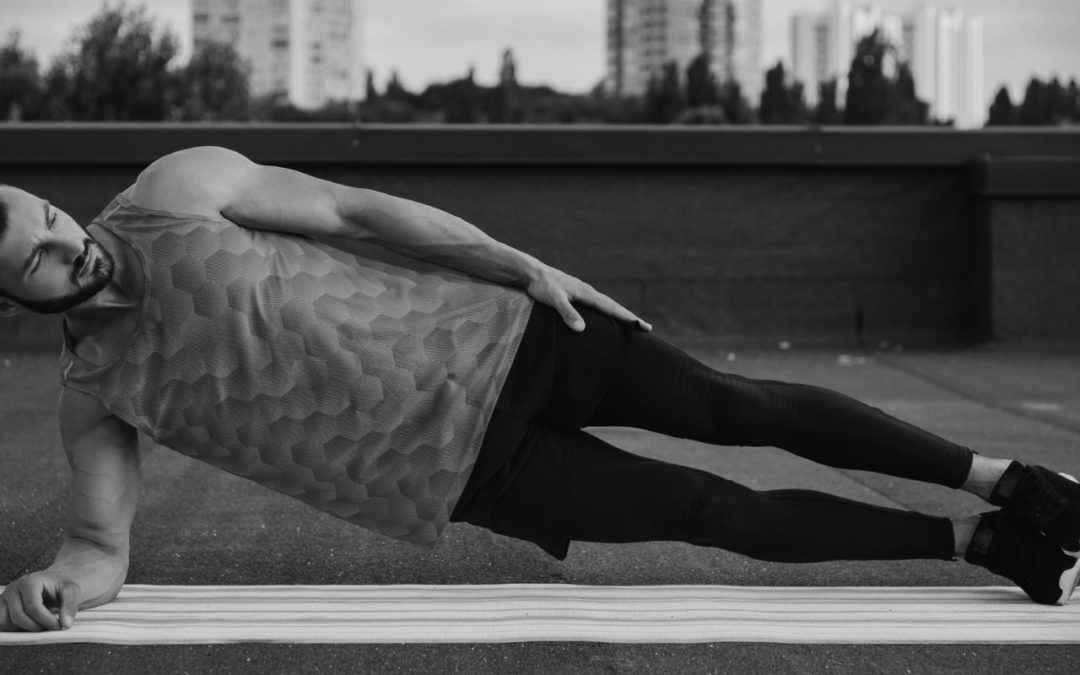
Releasing these guys is simple.
- Grab a foam roller or large ball, like a softball.
- Lie on your side placing the foam roller between the ribs and pelvis
- Make sure that you are arching up away from the ground to maximize the space between the ribs and pelvis
- Rock forward and back hunting for the tight and ugly feeling spots
- BONUS: try taking a few belly breaths while in the position
- Do this for 30 seconds on both sides
Step Two- Rib Cage Opening Drill
This drill is GREAT for opening up the ribcage and promoting T-spine mobility. It works by using the lungs to expand and distract the joints of the thorax and by elongating the muscles Note that during the breath portion of the drill you should take a deep breath into your chest, not the standard belly breath that we usually preach.
- Sit on a bench or chair with your legs together
- Cross one leg over the other and place your hands behind your head
- Keeping your knees together rotate to one side
- Staying rotated, laterally bend to that side
- Cycle 2 deep chest breaths
- Unbend then rotate further
- Repeat the process 3 times to each side
Step 3- Lumbar Locked Rotation
Just like our T-spine assessment this drill focuses on isolating the thoracic spine and removing the lumbar spine by pulling it into flexion. In this iteration though, you should put your hand behind your head.
- Get on all fours and sit back on your heels
- Place your hands or forearms flat on the ground in front of you
- Put one arm behind your head and elevate your elbow
- Rotate your torso so that your elbow is pointing as vertical as you can get it
- BONUS: pause and take a belly breath at the top of the motion
- perform 8 reps on each side